

Uploading Videos (Dashboard & API)
Step-by-step guide for uploading on-demand videos to Videograph using the dashboard or the contents API.
Before you start
You upload videos by creating a content object inside your Videograph environment. Each upload is ingested and processed before it becomes playable.
To call the API, you need a valid access token and secret. See Authentication & Access Control.
Supported ingest sources:
-
Dashboard file upload
-
URL-based ingest through the contents API
Uploading from the dashboard
Use this method for manual uploads or operator‑driven workflows.
Open the Video on Demand section
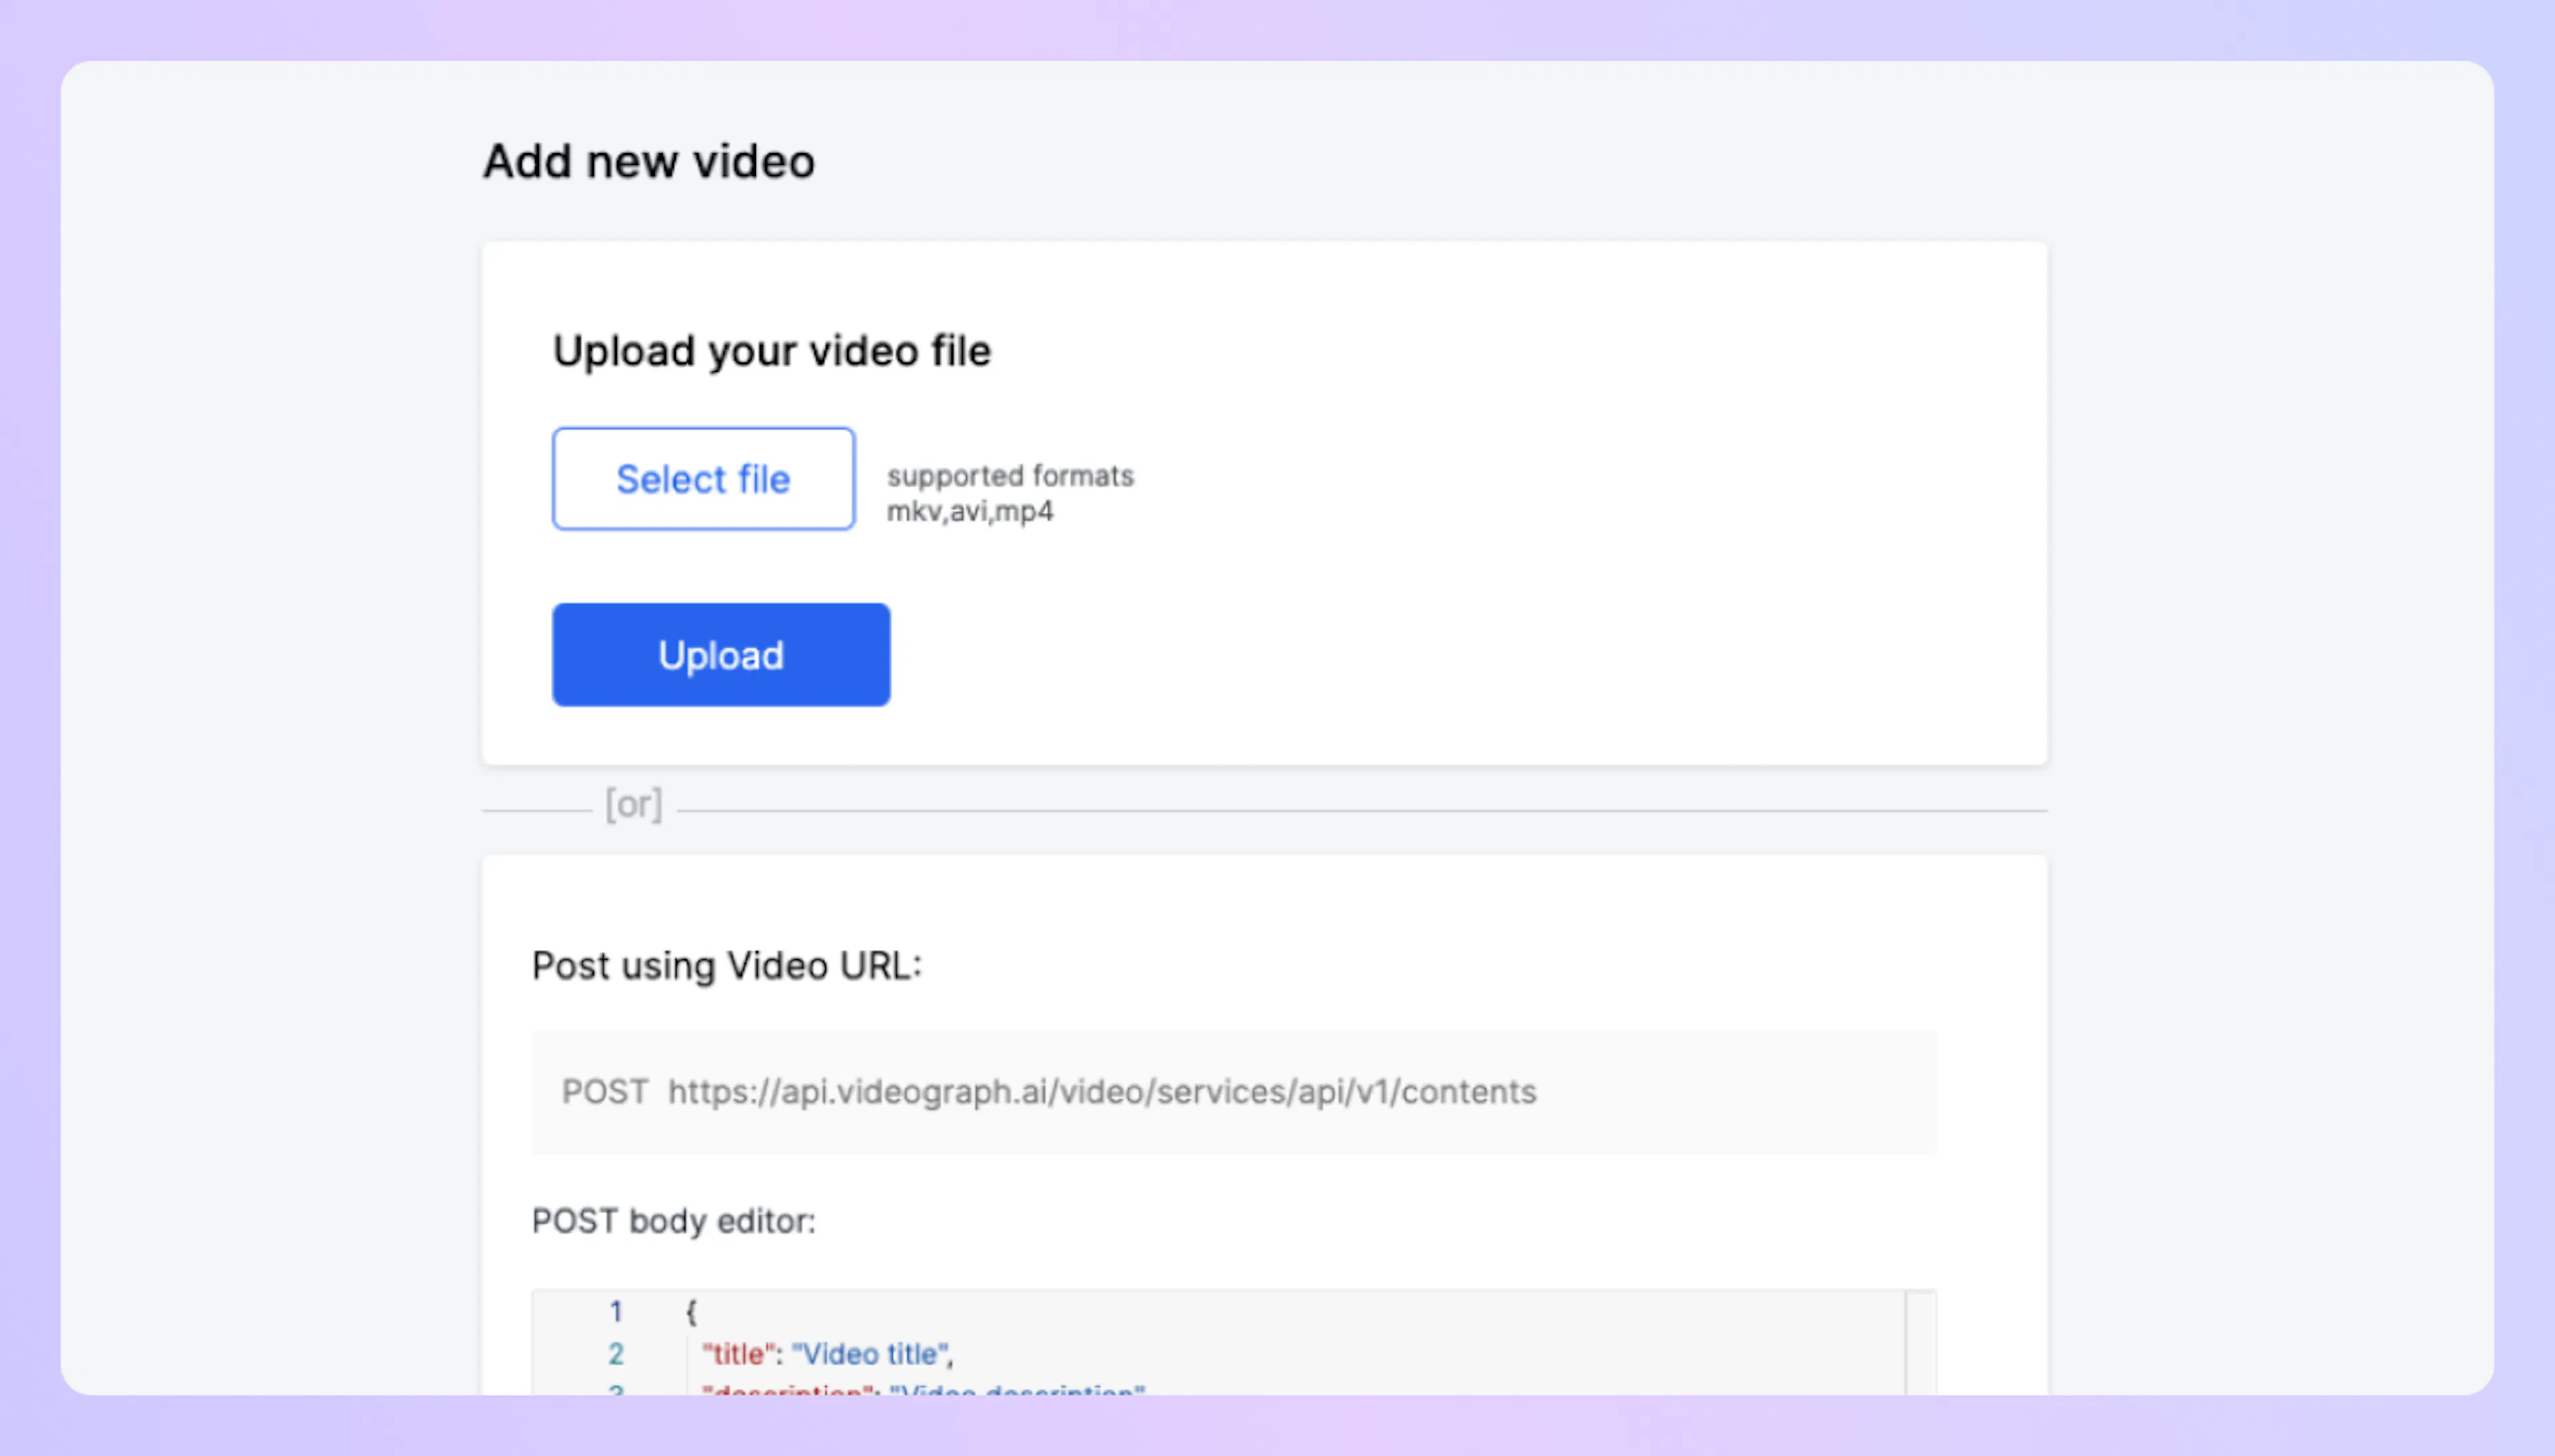
In the web dashboard, open the Video on Demand section and choose the option to upload a new video.
Select a file
Choose an MP4, MOV, or M4V file from your local machine.
Start ingest
Confirm the upload to begin ingest. Processing starts automatically, and the item becomes playable once ready.
Uploading via API
This method matches the reference flow for adding and streaming VOD content using a remote media URL.
Step 1: Obtain an access token
You must authenticate before calling the API. Follow the steps in Authentication & Access Control to obtain your API access token and secret.
Step 2: Create content with POST /video/services/api/v1/contents
A minimal request includes the following fields:
-
title: human‑readable name -
content: array of media sources, each containing aurlpointing to the remote file -
playback_policy: array defining access rules such aspublic
The screenshot below shows a POST request being configured and sent from the dashboard.
Videograph automatically fetches and processes the file from the remote url. Use a publicly reachable source such as the Tears of Steel sample below.
curl --request POST \
  --url https://api.videograph.ai/video/services/api/v1/contents \
  -H "accept: application/json" \
  -H "content-type: application/json" \
  --data '{
    "content": [
      { "url": "https://d19nx8bm4jzw4h.cloudfront.net/Tears-of-steel.mp4" }
    ],
    "playback_policy": ["public"],
    "title": "Demo Video"
  }'
import fetch from "node-fetch";

const body = {
  content: [
    { url: "https://d19nx8bm4jzw4h.cloudfront.net/Tears-of-steel.mp4" }
  ],
  playback_policy: ["public"],
  title: "Demo Video"
};

const res = await fetch("https://api.videograph.ai/video/services/api/v1/contents", {
  method: "POST",
  headers: {
    "accept": "application/json",
    "content-type": "application/json"
  },
  body: JSON.stringify(body)
});

console.log(await res.json());
<?php

$body = [
  "content" => [
    ["url" => "https://d19nx8bm4jzw4h.cloudfront.net/Tears-of-steel.mp4"]
  ],
  "playback_policy" => ["public"],
  "title" => "Demo Video"
];

$ch = curl_init("https://api.videograph.ai/video/services/api/v1/contents");
curl_setopt($ch, CURLOPT_RETURNTRANSFER, true);
curl_setopt($ch, CURLOPT_HTTPHEADER, [
  "accept: application/json",
  "content-type: application/json"
]);
curl_setopt($ch, CURLOPT_POST, true);
curl_setopt($ch, CURLOPT_POSTFIELDS, json_encode($body));

$response = curl_exec($ch);
curl_close($ch);

echo $response;
import requests

body = {
    "content": [
        {"url": "https://d19nx8bm4jzw4h.cloudfront.net/Tears-of-steel.mp4"}
    ],
    "playback_policy": ["public"],
    "title": "Demo Video"
}

res = requests.post(
    "https://api.videograph.ai/video/services/api/v1/contents",
    headers={
        "accept": "application/json",
        "content-type": "application/json"
    },
    json=body
)

print(res.json())
import java.net.http.*;
import java.net.URI;

var client = HttpClient.newHttpClient();
var body = """
{
  "content": [
    { "url": "https://d19nx8bm4jzw4h.cloudfront.net/Tears-of-steel.mp4" }
  ],
  "playback_policy": ["public"],
  "title": "Demo Video"
}
""";

var req = HttpRequest.newBuilder()
  .uri(URI.create("https://api.videograph.ai/video/services/api/v1/contents"))
  .header("accept", "application/json")
  .header("content-type", "application/json")
  .POST(HttpRequest.BodyPublishers.ofString(body))
  .build();

var res = client.send(req, HttpResponse.BodyHandlers.ofString());
System.out.println(res.body());
Step 3: Check the response
A successful request returns an object containing identifiers such as contentId and playback details. The status typically appears as Preparing until processing is complete.
Once the content status becomes Ready, playback URLs and additional metadata become available for use in your applications.
When to use each method
-
Use dashboard upload for manual, one‑off, or operator workflows.
-
Use API ingest for automated pipelines or when content is already hosted at a remote URL.
After ingest and processing complete, the content is ready for playback and management across your environment.